So this year I decided to look far and wide for EASY, healthy Thanksgiving treats for my Clover that I could make! I finally found a great recipe on squidoo.com!
Here are Clover's Pumpkin Pie Biscuits:
(Who knew pumpkin helps calm doggies' tummies too???)
You'll need:
1 1/2 cups of Whole Wheat Flour
2 cups of all-purpose flour
1/2 cup rolled oats
1 teaspoon of cinnamon
1/2 teaspoon of nutmeg
Mix of 1 cube of chicken bouillon and 1 cup water *(original recipe called for 1/2 cup broth instead)
3/4 cup of canned pumpkin (NOT pumpkin pie mix)
1 tablespoon oil
1 tablespoon maple syrup or pancake syrup
1 egg
Non-Stick Foil
1. Preheat oven to 350 degrees.
2. Mix the dry ingredients in a large mixing bowl.
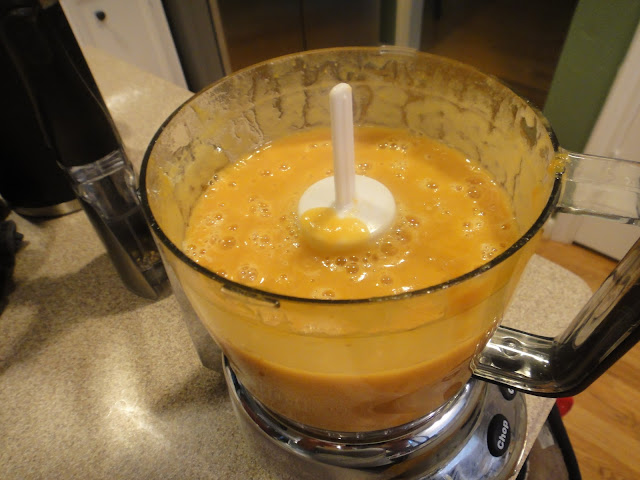
3. Blend the broth, pumpkin, oil, syrup and egg in a blender or food processor.
4. Add the blended mixture to the dry ingredients and mix together with a spoon.
5. Use your hand to mix well and form a dough. You'll have to REALLY work it!
6. Here is where I did my own thing to help with clean up.
(a) Put the dough onto saran wrap.
(b) Put another piece of wrap on top to prevent sticking to the rolling pin. Roll out to 1/2 inch thickness. You will actually roll on top of the saran wrap.
(c) Pick up saran wrap and throw away with no left-over mess!
No extra flour to keep sprinkling on....AND look at how clean my rolling pin is!! :)
7. Use cookie cutters to cut out the biscuits and place on a baking sheet with non-stick foil.
8. Bake for 30 to 40 minutes or until brown.
I decided to give some of our other doggie friends the same treat, so I made these cute baggies for Clover to give them on Thursday. I put 4-5 biscuits in each Ziploc sandwich bag and added the topper! You can download the bag topper I made here.
This recipe made around 25 biscuits. The wheat flour makes these a little chewy, Clover was the first to volunteer of course, and she loved them!


Cool, Leslie! Love your blog and the recipe for goodies for your dog! One question about your blog ... what font are you using that looks like handwritten printing? ... too cute!
ReplyDeleteThanks Cindy! I have fun doing it! It's called "Coming Soon" on blogspot. There are also websites out there that have tons of free fonts to use for Word or Pages too that I can give you if you want!
ReplyDelete